
To-Do List Tutorial
1. Set Up the HTML Structure:
Below is the HTML structure for a basic to-do list:
<!DOCTYPE html>
<html lang="en">
<head>
    <meta charset="UTF-8">
    <meta name="viewport" content="width=device-width, initial-scale=1.0">
    <title>To-Do List</title>
    <link rel="stylesheet" href="styles.css">
</head>
<body>

<div class="container">
    <h1>To-Do List</h1>
    <form id="task-form">
        <input type="text" id="task-input" placeholder="Add New Task">
        <button type="submit">Add</button>
    </form>
    <ul id="task-list">
        <!-- Tasks will be dynamically added here -->
    </ul>
</div>

<script src="script.js"></script>
</body>
</html>
2. Style the To-Do List (Optional):
You can style the to-do list using CSS. Below is a sample CSS file (styles.css) for basic styling:
/* styles.css */
body {
    font-family: Arial, sans-serif;
    background-color: #f4f4f4;
    margin: 0;
    padding: 0;
}

.container {
    max-width: 600px;
    margin: 20px auto;
    background-color: #fff;
    padding: 20px;
    border-radius: 5px;
    box-shadow: 0 2px 5px rgba(0, 0, 0, 0.1);
}

h1 {
    text-align: center;
    color: #333;
}

form {
    margin-bottom: 20px;
    display: flex;
}

#task-input {
    flex: 1;
    padding: 10px;
    font-size: 16px;
    border: 1px solid #ccc;
    border-radius: 5px;
}

button {
    padding: 10px 20px;
    background-color: #333;
    color: #fff;
    border: none;
    border-radius: 5px;
    cursor: pointer;
}

button:hover {
    background-color: #555;
}

ul {
    list-style: none;
    padding: 0;
}

.task-item {
    background-color: #f9f9f9;
    padding: 10px;
    margin-bottom: 5px;
    border-radius: 5px;
}

.task-item.completed {
    text-decoration: line-through;
    opacity: 0.6;
}
3. Handle Task Addition:
Here's the JavaScript code (script.js) to handle task addition:
// script.js
const taskForm = document.getElementById('task-form');
const taskInput = document.getElementById('task-input');
const taskList = document.getElementById('task-list');

taskForm.addEventListener('submit', addTask);

function addTask(event) {
    event.preventDefault();
    const taskText = taskInput.value.trim();
    if (taskText !== '') {
        const taskItem = document.createElement('li');
        taskItem.className = 'task-item';
        taskItem.textContent = taskText;
        taskList.appendChild(taskItem);
        taskInput.value = '';
    }
}
4. Display Tasks:
This step is already covered by the code in step 3.
5. Handle Task Completion:
Here's the JavaScript code to handle task completion:
// script.js (continued)
taskList.addEventListener('click', completeTask);

function completeTask(event) {
    const taskItem = event.target;
    if (taskItem.tagName === 'LI') {
        taskItem.classList.toggle('completed');
    }
}
6. Handle Task Deletion:
Here's the JavaScript code to handle task deletion:
// script.js (continued)
taskList.addEventListener('contextmenu', deleteTask);

function deleteTask(event) {
    event.preventDefault();
    const taskItem = event.target;
    if (taskItem.tagName === 'LI') {
        taskItem.remove();
    }
}
7. Store Tasks in Local Storage (Optional):
You can use local storage to store tasks. Below is the JavaScript code to store and retrieve tasks from local storage:
// script.js (continued)
document.addEventListener('DOMContentLoaded', () => {
    const tasks = JSON.parse(localStorage.getItem('tasks')) || [];
    tasks.forEach(taskText => {
        const taskItem = document.createElement('li');
        taskItem.className = 'task-item';
        taskItem.textContent = taskText;
        taskList.appendChild(taskItem);
    });
});

taskForm.addEventListener('submit', addTaskAndUpdateStorage);

function addTaskAndUpdateStorage(event) {
    event.preventDefault();
    const taskText = taskInput.value.trim();
    if (taskText !== '') {
        const taskItem = document.createElement('li');
        taskItem.className = 'task-item';
        taskItem.textContent = taskText;
        taskList.appendChild(taskItem);
        updateLocalStorage(taskText);
        taskInput.value = '';
    }
}

function updateLocalStorage(taskText) {
    const tasks = JSON.parse(localStorage.getItem('tasks')) || [];
    tasks.push(taskText);
    localStorage.setItem('tasks', JSON.stringify(tasks));
}
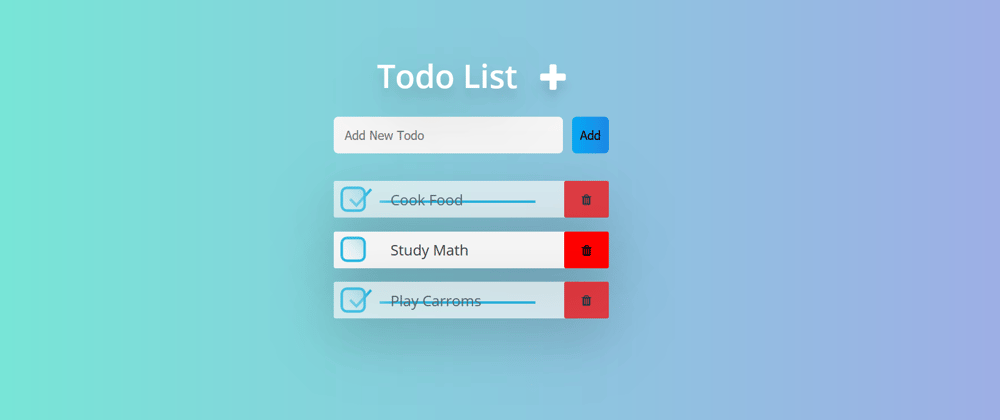
Output:
To-Do List